I love ribbon- I mean, what scrapbooker
doesn't have loads and loads of ribbon laying around, waiting to be used?
Here are five little ways I've discovered to spice up my ribbon and make it a little extra special on my cards or layouts.
(Oh, and I used the
Cosmo Cricket Hello Sunshine papers for most of these cards,
Prima flowers, some buttons, and of course, ribbon... and a handful of other things.)
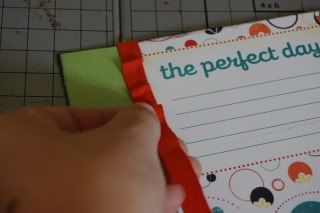
For this card, I wanted a nice strip of ribbon to tie into a bow on the card, and I wanted it to stay put.

I cut a little slit on the fold on the card like so:

And then slide my ribbon through it, wrap it around the front of the card, and tie a bow.

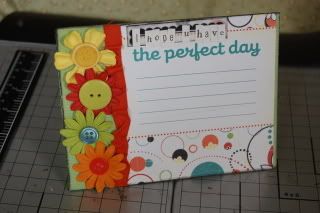
Then I added a flower, and a button with ric rac through it.

A happy little card with a jazzed up bow:

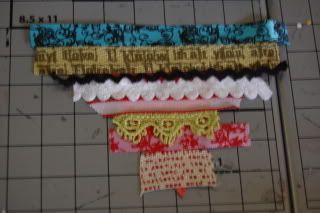
I use this next technique so much, y'all are probably sick of seeing it. I'm a bit obsessed with it.
Cover the back of a piece of ribbon, trim, twill, or fabric with SuperTape.
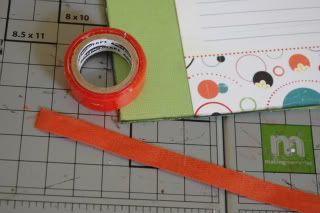
Stick one end down on your project.

Then slowly stick down parts of the ribbon, folding and rumpling it as you go.
Just lovely. Look at that texture. Mmmm.
Here's something a little different, and makes the card unique (but you could easily adapt this to a layout):
Create a little tag (mine has paper, Maya Road Sheers, flowers, and a brad) and place it on your card where you'd like it.
Using a Crop-A-Dile, punch two holes through the tag and the card.
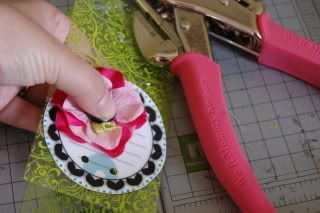
Layer two pieces of ribbon or trim together, thread it through the holes, and tie the tag on.
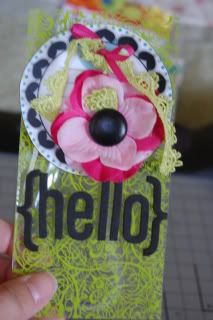
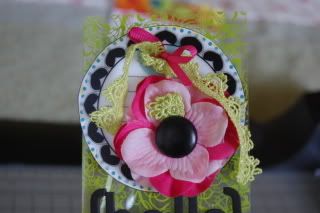
This is what it looks like all complete:
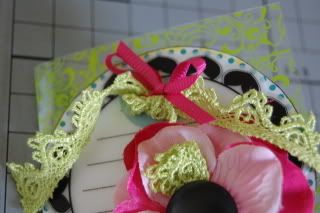
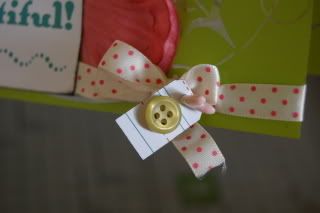
And a closeup:
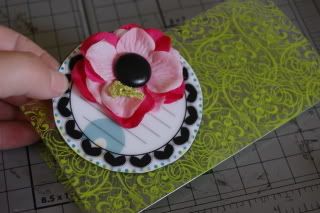
This one is simple, but effective to make your ribbon look extra special- add a fancy little straight pin (or sometimes I use a safety pin!) and a tag and put it right through the bow.

Make sure your pointy end of the pin is tucked away so no one gets hurt!
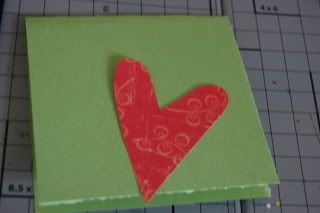
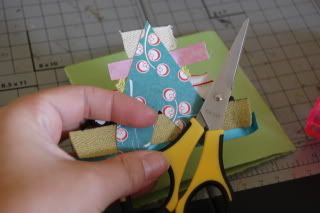
This one is a little bit different- making an embellishment out of the ribbon:
Cut out a shape out of cardstock or thick patterned paper. Remember the color may show up a little.
Cover the whole shape in adhesive.
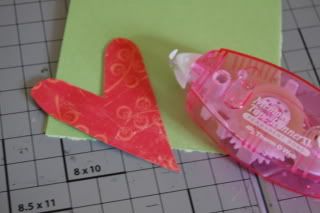
Lay strips of ribbon across it. This is a great way to use up scraps!
Turn the shape over and trim off the excess.
You can leave it like this...
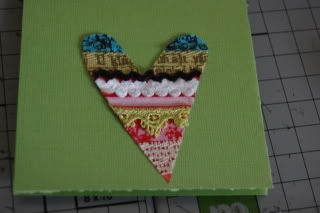
Or sew around the edges.
I think it makes a really nice statement. You can make this REALLY big for a layout, or tiny tiny. It's got a lot of different ways you could go with it!
I hope this helps you use your ribbon stash in a new way!


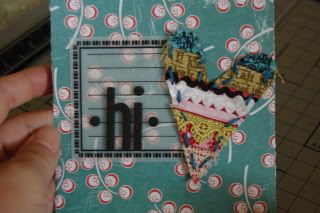
 Here I just made a simple card and I have ribbon, a paper piercer, brads and scissors.

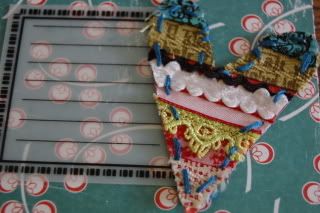
 Using your paper piercer you can make a hole where you want the top of the heart to be.
 Hope you enjoyed it!


