So I thought about it and put a piece of scrap heavyweight paper on the backside of the felt and voila...worked like a charm! So remember when you want to staple felt you need to add card stock behind and then trim around to avoid the "smoosh".


 One of the latest trends in scrapbooking is the use of felt on any and all projects. Many companies are releasing felt embellishments, and on these cards I used embellishments by Fancy Pants Designs. I love the texture that felt adds to a layout or card, and it sometimes even lends a "retro" feel to your project. The main obstacle to overcome with felt is attaching it to your project. After trying many of my mainstay adhesives and having no luck, I discovered that KI Gloo is an awesome alternative to regularly used adhesives. If you are planning to use felt on many projects at all, KI Gloo would be a great investment. As an alternative, I used brads to attach my flowers to these cards--no adhesive was necessary at all in those cases. You could easily use brads on other felt shapes as well. And if you're feeling really ambitious, sewing felt embellishements onto your project would make any layout or card look awesome! So have lots of fun with your felt embellishments--they are sure to add lots of texture and dimension to all your projects!


 Sanding creates the distressed look of wear. You can use sanding blocks or sandpapaer. You can sand: paper, pictures, chipboard, stickers, metal or cardstock.
 My favorite is inking. I inked most of my layouts, there is just something I love about it. Must be that you can tell where one pattern paper ends and begins. Or just that it gives it a very bold look. Well whatever it is, I know I am not going to stop inking.
 And by painting the heart on this layout, I created the look of a ready made red acrylic heart.
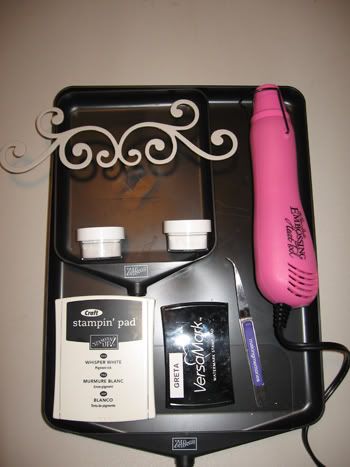
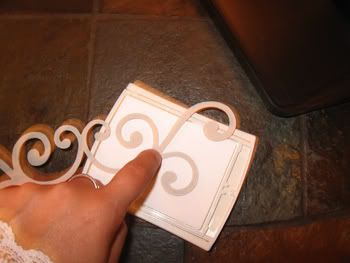
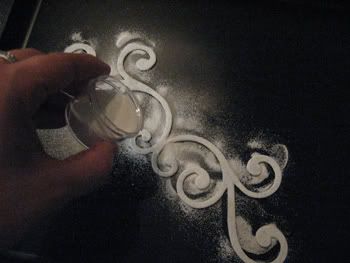
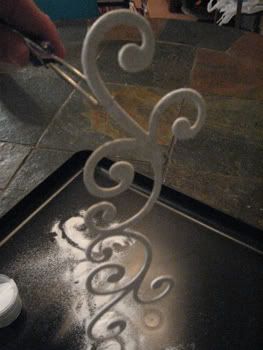
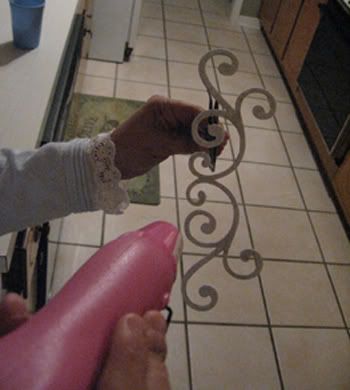
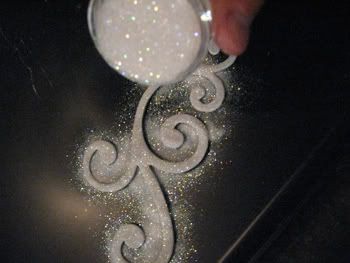


 For some, the very words Mod Podge bring psychedelic visions of decoupaged furniture and ‘artwork’ from the 1970’s. But Mod Podge has made quite a comeback in the world of scrapbooking and altered art.


 **The first thing I do before sewing on any layout is practice on an extra sheet of paper. I like to make sure my stitching will look right and it helps to check the overall threading of the machine.
 **If you find that you have trouble sewing a straight line, keep your layout in the “freestyle” form so that a crooked stitch fits right in with the design.
 **If you don’t have a sewing machine, you can still get the sewn look by handstitching. Use a needle and thick thread directly on your paper—it usually helps to punch the holes beforehand so that you can just run the stitch quickly through with the needle.
I just found a coffee cup image online, and saved it to my computer. I then went into the Silhoutte software and clicked on the green square at the end of the toolbar. From there you can load your image and make a cutting outline. Obviously some shapes will work better than others, but imagine the possibilities!!
You can use this same technique to create welded (connected letter) words. I use Photoshop (or your favorite photo/graphic editing software) to type out a word. If the letters aren’t already connected, I move them around until they are. I then save it as a JPEG file. Then you can go into the Silhoutte software and capture an outline just like I did with the coffee cup.
All in all, the Silhoutte is a very versatile tool. You have complete control over the size and shape of your ‘die’ cutting. Let your imagination go wild!


