
Hi everyone!!
My first Tips and Techniques blog post! Yay!
So super duper nervous! Yay!
LOL! So I am not a real huge techniques person-at least I don't think so-but I wanted to try and come up with something that was useful and interesting to read for you all! Looking at my supplies and my LOs, I realized that the only real tools that I use are my paper punches and decorative scissors! I still hand cut or exacto my lines and don't have a die cutting machine or anything. I just couldn't justify the cost of such things as a die cutting machine or even a paper trimmer, and honestly it took me a long time to get into the punch trend because those things are a bit pricey too! But after a couple punches I realized that these would be well worth the cost as I do get a lot of use out of them! :D I was happy about that. So my punch stash has grown quite a bit and I thought I would share with you some of the ways that I have used them to try and get the most out of them! :D My goal is to try and give you lots of ideas on different ways to use your punches and deco scissors to try and get the most for your money! Hope you like it!...Here we go!
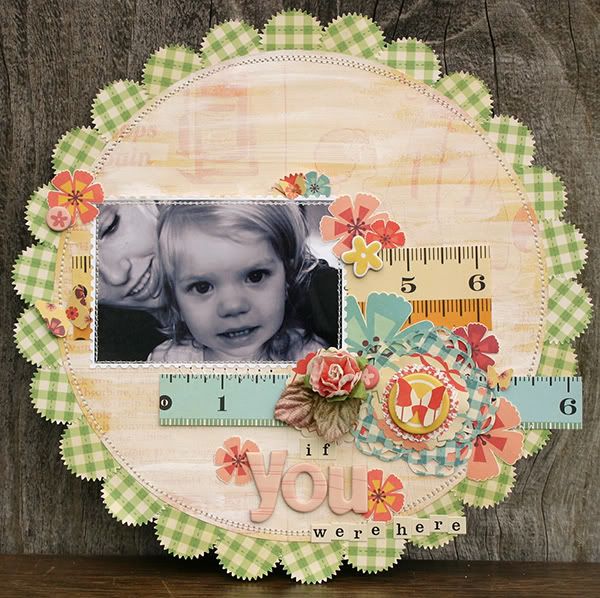
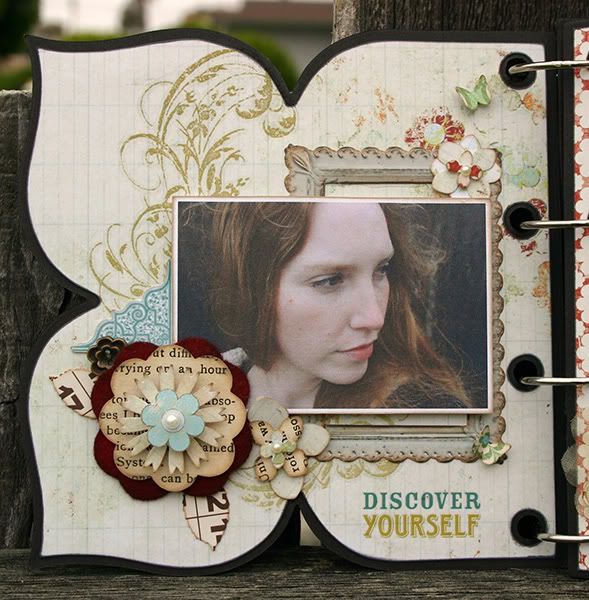
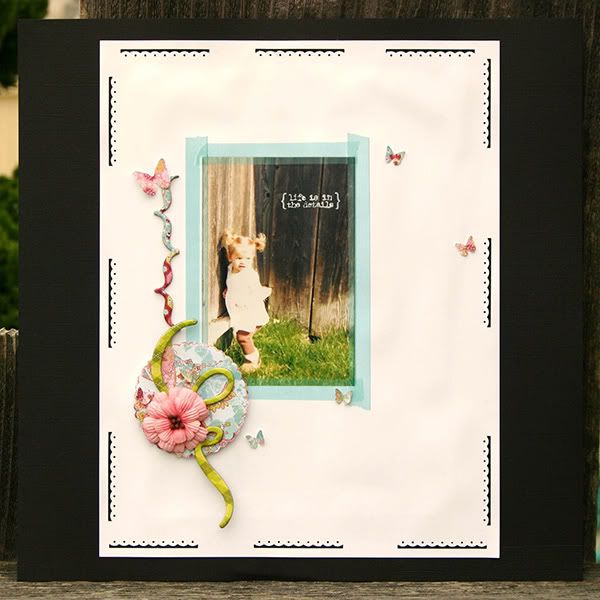
This first LO uses my
Martha Stewart Starburst punch like there is no tomorrow! I wanted a scallop border for my circle LO but I didn't want the normal scallops. I saw this idea from the awesome
Kimmi Achord, and totally fell in love with it! And it was really simple, which is a plus for me! :D Sewed them into place and totally love how it looks. The second punch I used on this LO is my all time fall back, the
Martha Stewart 3-in-1 Butterfly! These little butterflies are tiny, soft, sweet and can add just the right amount of dimension and color to any LO! And next, the
Martha Stewart Medallion double punch is one of my newer punches, and I used it here to make a sort of blue flower around my main embellishment. I think it turned out really sweet! And last, the
Marvy 1 1/2 inch Scallop lever punch I use on lots of LOs as a good base to further embellish off of, like I did here in this LO. And I also used a pair of deco scissors here that has really grown on me, my
Kraft Edgers Postal decorative scissors. (Normally I would never condone buying something so super expensive, but it was a gift-and have only just realized in looking it up exactly how expensive a gift it really was!!! Totally need to call my Grandpa and Thank him profusely again!) Anyway I used these to trim around my photo-and really like the effect!
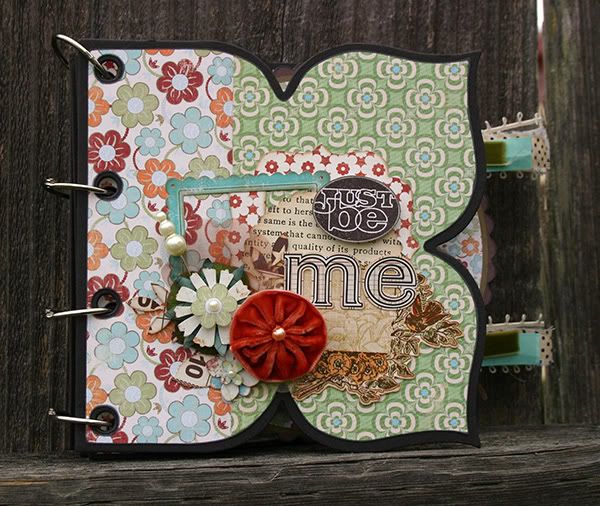
Next up, I used my
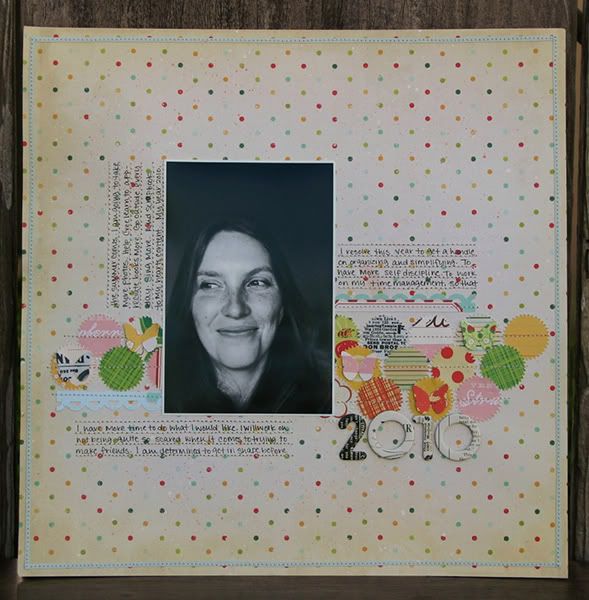
Martha Stewart Starburst punch on overtime!!! I wanted to just use hints of all the patterned papers from this line and this was the best and most effective way I could come up with! :D The next that I used here was my
Fiskars Apron Lace punch. I punched the top of my journaling card and a little strip of one of the papers to just give hints of the blue colors they had on them. And of course the LO wouldn't be complete without using the
Martha Stewart 3-in-1 Butterfly punch again! :D Love that one to pieces!
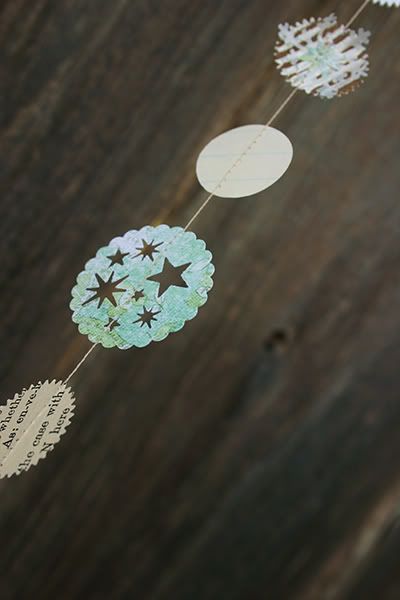
This next project is a hugely hot trend as of late and I jumped on the band-wagon as soon as I saw the first one because I thought it was sooooooo stinking awesome! And I have made several of these garlands since! :D Here I used a butt-load of scraps and it felt great!!! I used everything from patterned paper to glassine envelopes to corrugated cardboard! The punches I used were all of these:
For more pictures of the garland (which still aren't very good-but all I could get :P)
go here to my blog. :D

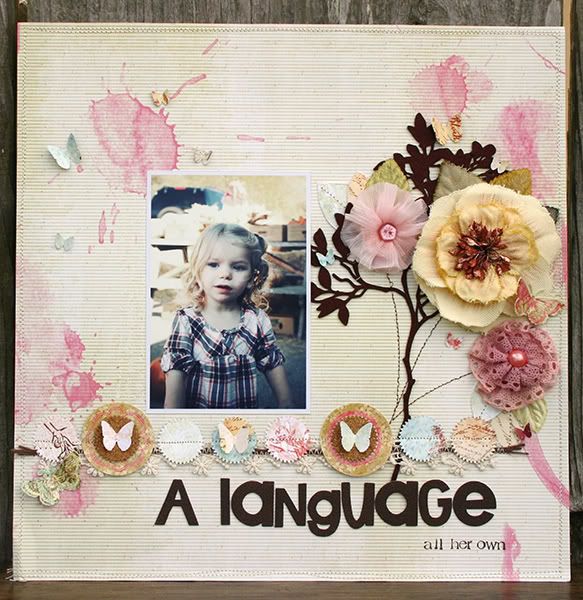
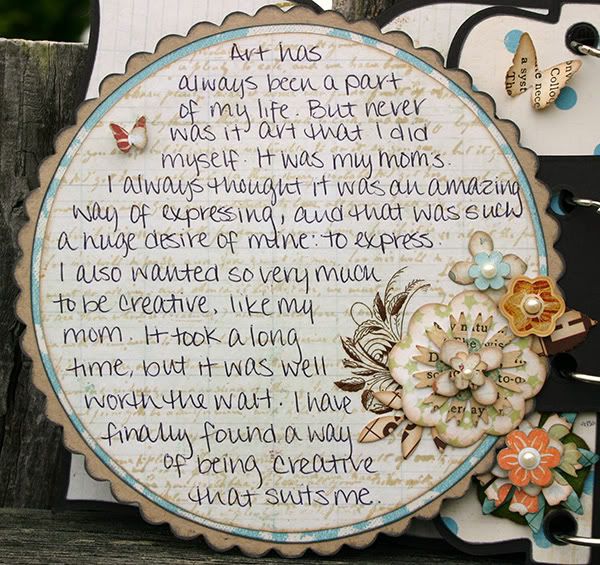
This LO here, which is very near and dear to my heart, I did kind of the same thing as the LO above with my
Marth Stewart Starburst punch. I used the punches to not only add dimension and texture, but as color accents on the page. :D And of course they would not be complete without some butterflies on them, using the
Martha Stewart 3-in-1 Butterfly punch!
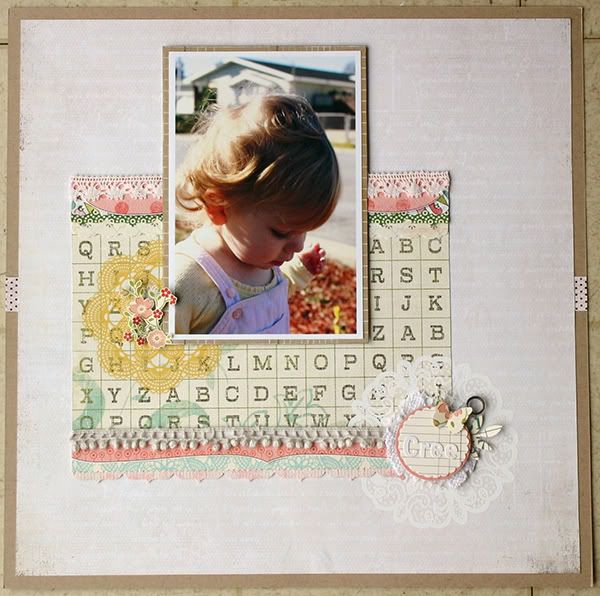
This LO also does something similar in that all my accents are pieces of paper in different colors and shapes. :D I punched lots of different papers that followed the same color scheme that I needed and layered them all on top of each other in random order! Along with the circle punches I used here (
Marvy 1 1/2 in Scallop circle lever punch,
Martha Stewart 1 inch Scallop Circle punch, and
Martha Stewart 1 in Circle punch) I also included some punches from a couple leaf punches I have, which makes the circles seem like flower clusters! Leaf punches used were:
Martha Stewart Rose Leaf punch and
Martha Stewart Frond punch. I really love how this LO turned out and how the layered papers give it a soft texture. The other thing I used on this LO were my Provo Craft Mini Scallop deco scissors (which I can not for the life of me find a picture of online! Grr!)I used it along the strip that runs horizontal on the LO. I actually backed the strip with the darker magenta color and then cut the paper off with the deco scissors leaving just a hint of the color for contrast! :D I like doing little accents like that.

This next project has my
Martha Stewart Hydrangea punch and
Martha Stewart 3-in-1 Hydrangea punch to good use making my own embellishment flowers! These two punches layer so amazingly together! All you need are some small pop dots to make them dimensional and you are good to go! :D I used two other flower punches on this project as well-the
Martha Stewart Cornflower punch (as seen directly below) and the
Martha Stewart Cosmos punch (seen in the next picture). And to make these flowers complete I added punches from some of my
Jenni Bowlin Bingo cards made with the
Martha Stewart Rose Leaf punch and the
Martha Stewart Frond punch! :D This album was probably the most fun of anything I have done with punches!
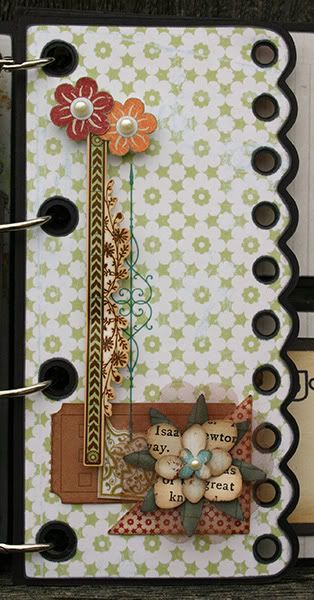
Next to last is this little LO that I made a while ago, and it is really a very simple LO but I LOVE it! :D One of my all time favs. On this Lo I used my
Marvy 1 1/2 inch Scallop lever punch and layered two punched papers of different colors on top of each other, with the darker paper on the back so that only a teeny bit showed up behind the blue paper. And that was my main accent. Using a small amount of paper in an effective way is sometimes all you need to make a LO! :D The other two punches used here are, of course, my
Martha Stewart 3-in-1 Butterfly punch and then my
EK Success Tiny Dotted Scallop edger punch. The EK Success punch I used to subtley merge the white cardstock with the black cardstock, so that hopefully it wasn't such a huge contrast. And it turned out to be a really fun accent to do! Another way to creatively use your punches to add some fun and texture to your LOs! :D
And last, but not least!, is the LO I made for the most recent
Noel Mignon challenge! Here I wanted to use several different colors, but still have this be a very white space and soft LO. I tried to do that by just using little strips of the colors and patterns I wanted. I used my Provo Craft Mini Scallop scissors,
Fiskars Uppercrest Border punch, and
Fiskars Threading Water punch on the papers. And, of course, as you can see, I used the
Martha Stewart 3-in-1 Butterfly punch (tired of that one yet? LOL!), my
Marvy 1 1/2 inch Scallop lever punch, and
Martha Stewart Frond punch to create the accent at the lower part of the LO.
:D So now do you see how it is almost impossible for me to do a LO without my punches??! I love them so much and they are so versatile that I can't help myself! I really have begun to depend upon my punches and scissors, and they really help to make the most of the rest of my supplies-especially my paper scraps!
I really hope that I have inspired you and given you some ideas on ways to use your punches and scissors, instead of completely overwhelming you with an incredibly picture heavy post. :D Please let me know if there are any specific things you would like me to do in the future for my T&T posts, because as I said before I am soooo not a techniquey person (or at least I don't think so), but really want to show you what you want to see! So let me know! :D Thanks!
Two more things before I go-
The Fun in the Sun crop is still going on! All the challenges are up on the boards here, and all of them have the same due date of the 16th! Which still gives you some time if you hop on over there and get started! Good Luck! :D
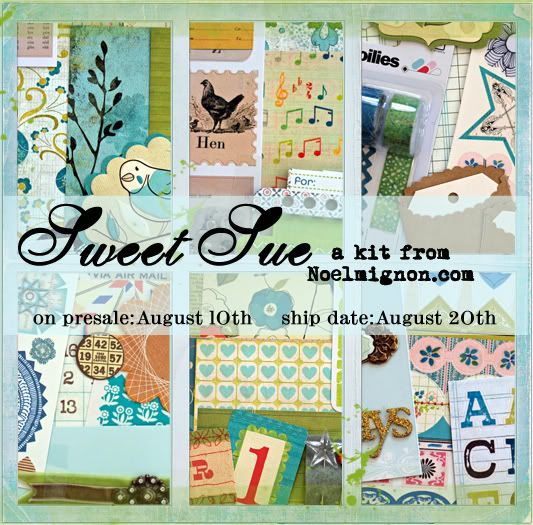
And the last thing, Sweet Sue is up for preorder!! Woot Woot! Be sure to go pick yours up today as these are going to go real fast!! I can not wait to get my hands on mine!!! This is going to be my fav kit yet as it is just gorgeous and I love the colors! :D
 Ok that's all folks! Take care! Have a good day!
~Amy


