.

Friday, April 18, 2008

Journaling Spots

Wanna quick way to add some journaling to your layouts? Try some pre-made journaling spots! Many manufacturers are coming out with journaling cards, tags, stamps, and die-cuts that make journaling on a layout easy.


For this first layout, I combined two Jenni Bowlin journaling cards to create a big enough space for the story I wanted to tell.


For "The Next Generation," I used some fun new tags by Collage Press that help make journaling about the occassion a little more fun.


And if tags are too big, you can always use small rubons or transparencies from Hambly or the little post-it notes from Heidi Swapp.


Saturday, April 12, 2008

Fun With Templates

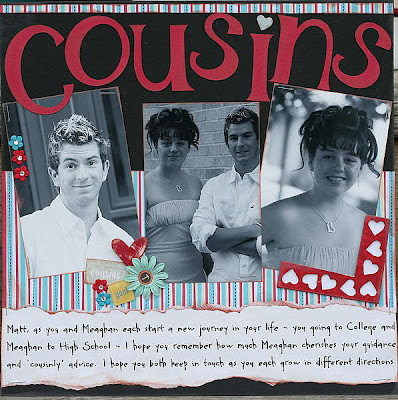
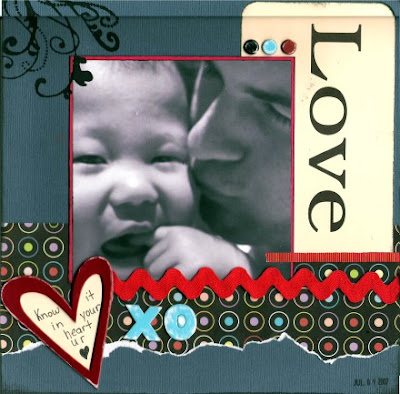
Templates, formally known as stencils, are a fun and easy way to embellish your layouts or cards. There are many templates designed just for scrappers. Some of the more popular styles are journaling and doodling templates, but there are many ways to incorporate different template styles into your scrapping and card making.

Templates lend themselves to a variety of mediums such as ink, paint, markers, chalk and pens. Paint, opaque pens and sometimes chalk work best on dark papers. Use your scraps to determine which medium will give you the look you’re after.

You may want to use repositionable tape to keep the template in place while you’re working. I’ve found that this technique is especially helpful when working with paints, chalks and large templates.

Journaling/Doodling Templates

These templates usually have very narrow or small openings. One of my favorite methods for working with these templates is rubbing an inkpad across the template. It gives a nice soft, clean look. A pen or marker can be used for a sharper finish. Pencils can be used if you just want guide lines for journaling. Be sure to use pencils lightly as erasing can fade your papers.


This swirl was done by rubbing an ink pad across the template.


Paints and Templates

The key to working with paints is to keep your brush fairly dry. If you have too much paint on your brush it will leak under the edges of the template. Foam or stiff stenciling brushes work best. Dip the tip of the brush in paint then blot it until it’s fairly dry. Apply the paint with an up and down motion as opposed to a brush stroke.


Chalks and Templates

Chalks give a soft, pretty look. They are easy to blend, even within the boundaries of a template. Another advantage to chalks is they erase easily so if you don’t like the effect you’ve achieved, you can start over.


Same Template-different mediums


More Ideas

Use a pen, marker or pencil with your template, then cover your tracings with glitter glue.

Use embossing ink pads with doodling templates, then emboss.

Use the template as a guide for placing bling, brads or other embellishments.

Get those templates out and start playing!

Thursday, April 10, 2008

Working with Vinyl Appliques

So the new Vinyl Appliques that are available are so fun and cool looking, but I'll admit, I was a little overwhelmed by the huge instruction sheet that accompanied them. So I dove in and figured them out so I thought I would share how really easy they are to use!
Step one - Cut out your desired shape

Step 2 - turn you shape upside down on a hard surface and rub it hard like you would a hard to apply rub on.

Step 3 - Peel the backing off the vinyl shape

Step 4 - Place you shape sticky side down where you want your shape applied.

Step 5 - Rub you shape on with moderate force into place like you would a normal rub on.

Step 6 - Check out your cool vinyl applique!! :)

Monday, April 7, 2008

Working with multiple elements....

Hey guys! Today I want to talk about adding different elements to your scrapbook pages.

Here is an oldie for me but I still love it. On this LO, I used several different techniques and that really made this one fun for me.

I printed on a transparency all the different words that described Kayla. I also added her name throughout the words in different fonts, so it wouldn't all look the same. Printing on transparency is REALLY easy and it's a good way to add subtle touches to your pages. I use Hammermill Transparencies and they work REALLY well. I always print on the rough side and depending on the boldness of what I am printing, I will print in draft mode. I have an Epson R1800 printer.
It can be difficult to attach transparency, so here I decided to use eyelets and ribbon. It's anchors it to the page, but still gives me some texture. I also added ribbon to the strips of paper under her photo to tie it all together.

I also incorporated, inking, and sewing. It adds small touches without overpowering the LO. That is one thing you have to be careful of when using lots of different techniques. Not to take away from the photo or your story.
And that is it :-)

Little things (even when working with a few different techinques) can add a lot of wow to a LO!

Wednesday, April 2, 2008


ALTERING PHOTOGRAPHS FROM COLOUR TO BLACK AND WHITE


I know there are many different software programs that you can use to alter photographs from colour to black and white. For the photographs that I have modified I have used Picasa2®.
Something fun to do is to predetermine the specific topic for your layout (a focal point) and emphasize just that explicit item. For instance, in the example below I decided to accentuate the importance of my son’s birthday and his ‘coming of age’. I altered the entire photograph to black and white, except the glass of beer, to make his beverage stand out. Every time I look at the picture my mouth waters for an icy cold brew !!


In another layout I used a larger black and white photograph (5” x 7”) and I then took the exact same photo, but utilized a smaller size (4” x 6”). I like how this layout turned out, using the same shot, and I don’t think it looks like it’s been duplicated.


In this next layout I altered the entire photograph to black and white as I felt colour was dominating the layout. I also think that using black and white made the arrangement appear more formal, which suited the occasion.


Another example of using a black and white photograph is this layout. I altered the photograph to black and white so I could use fun bright colours without losing the intent of the photograph. I put a flower in my subject’s hair which I think stands out much better in a black and white photograph.


A few additional illustrations of using black and white photographs with my subjects left in colour are below ...


For me, a bonus in altering colour photographs has been varying photographs of my Grandson Ben. Ben has encountered bouts of eczema on his face and when I alter the photographs to black and white the rash magically disappears. Take a look ...


Final examples of when I have altered my photographs to black and white is when I have worked with a slightly out of focus photograph.
These next photographs were some of my favourites; but they were out of focus. I wanted to include them in my Scrapbook, and I found when I altered the photographs to black and white the clarity improved and I was able to use the altered photos to produce quality layouts.


In closing, I hope my examples have illustrated the successful outcome of altering colour photographs to black and white. By manipulating your photographs you can open doors to new and exciting layout scenarios. Altering colour photographs helps to emphasize your subject without using embellishments or other additions that take away from the actual purpose of your layout.
Remember - it's not just laundry that should be separated by colour !