Stamps are a really fun way to make accents for your scrapbook pages and cards. Using just a black stamp pad and a few supplies you probably already have on hand, you can create several different looks with your stamps. And the best part is, you can customize the look of your image to match your project perfectly!
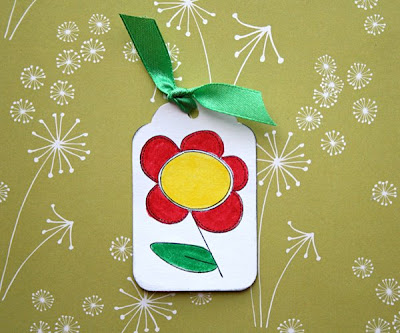
 Use COLORED PENCILS to color in your image. Yep! Your kids Crayola or Prang work just fine!
 MARKERS give a more vivid, bright look.
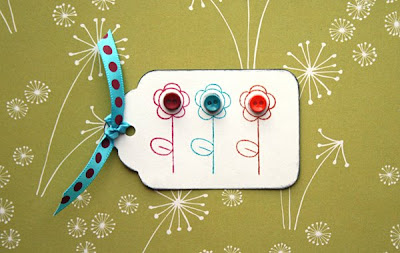
 You don't have to have several different colors of ink pads to get a colorful look. Try using MARKERS to ink up your stamp.
 This image was colored in using a combination of COLORED PENCILS and MARKERS. I colored in the image with the colored pencils and then used the markers to add bright doodles on top to add a little more depth.
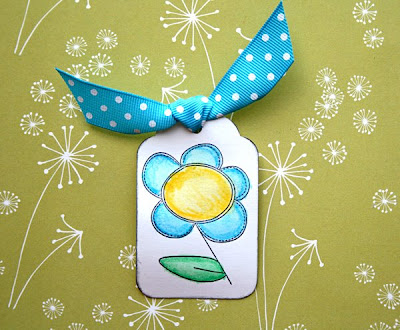
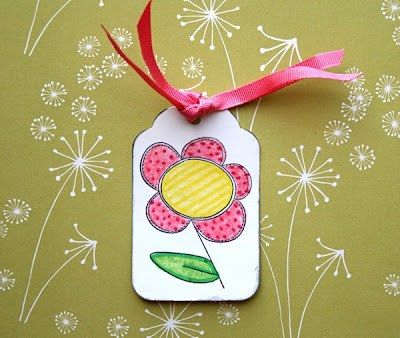 For a softer, more fluid feel WATERCOLORS are a great alternative. Be sure to use a permanent ink pad, like Staz On Ink, so that your stamped image won't run when it comes into contact with the water.
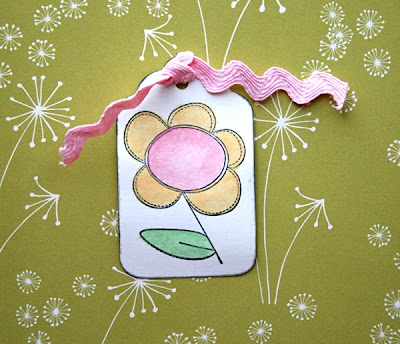 This image was colored in using WATERCOLOR PENCILS. These are found in an art store. I colored just the outer edges of each section and then used a paintbrush loaded with water to drag the color inward. This helps give the flower some dimension.
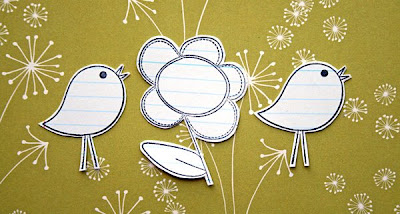
 Do you love the look of doodling? Try stamping your image onto NOTEBOOK PAPER. Cut out and apply to your page for a neutral accent. I especially love how it looks on boy pages. If your page has a lot of colors and patterns going on already, try using this technique to create a neutral accent.
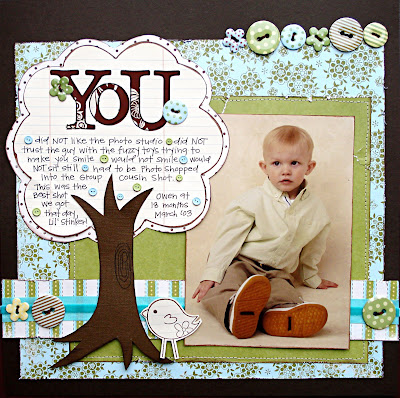
Or you can DOODLE right on top of your image! Stamp your image in light colored ink and trace right over the top. No one will ever know you didn't draw it freehand! :)
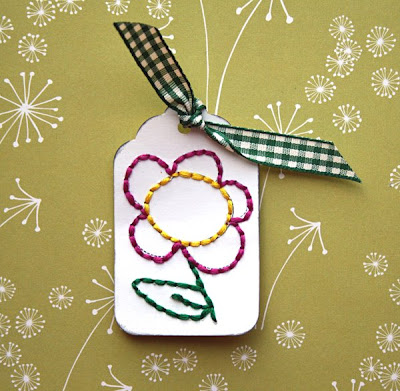
 STITCH over your stamped image for a handcrafted look.
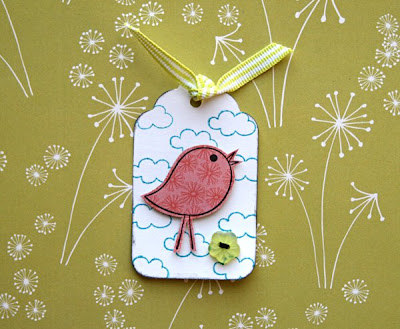
 Don't know what to do with smaller stamps? Try stamping them several times to CREATE A PATTERNED BACKGROUND.
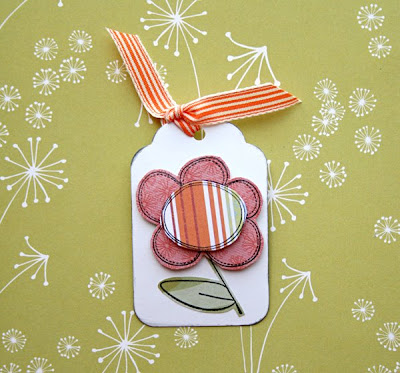
 I created this accent by stamping the same image onto several different PATTERNED PAPERS. I cut out each "piece" and layered them together using foam dots to add dimension.
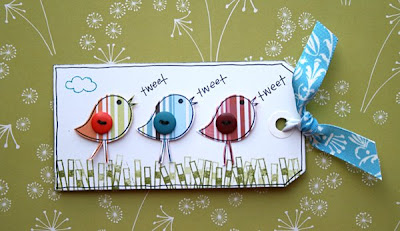
 Try using the end of a border stamp to create grass. Here I stamped the image several times before reinking to create several different SHADES of green for the grass. Wouldn't this make a cute accent on a card? You can also ADD BUTTONS AND OTHER EMBELLISHMENTS to your images for additional dimension.
 So, go ahead! Blow the dust off your stamps and try creating one-of-a-kind accents for your pages. It's a lot of fun!


