


(latex gloves optional) and let the glittering begin. Heat and Stick is the best thing to keep glitter in place and not rubbing off on everything that it touches, including you.
Supplies you will need:
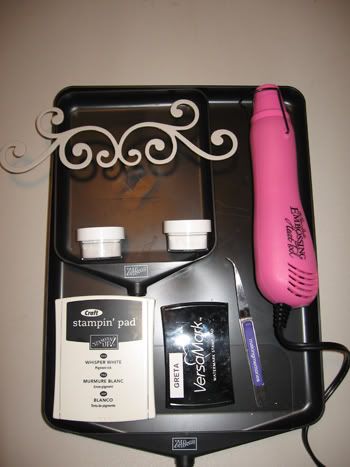
Heat Gun
Craft ink OR Versamarker
Heat and Stick powder
Glitter, flocking, sand, or colored sand (you choose)
2 powder buddy trays or coffe filters works fine
tweezers
chipboard or cardstock
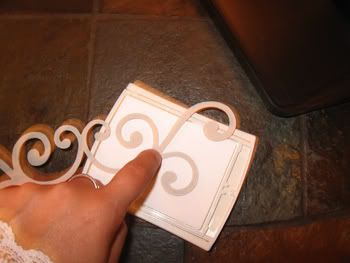
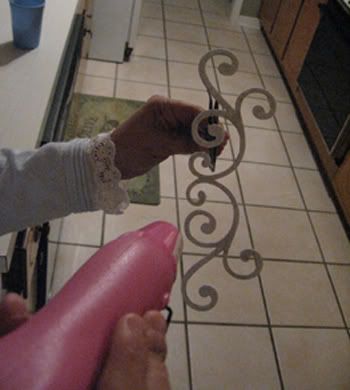
1. First you stamp your chipboard or image into pigment ink such as Stampin' UP! Carft pad, embossing pad or VersaMark Pad.
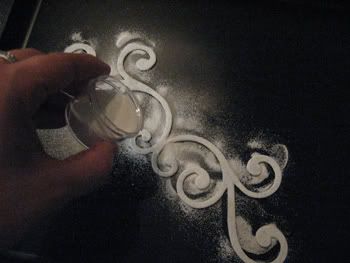
2. Then you generously apply heat and stick powder all over your chipboard, shaking off excess
*note* if using versamark you will need to move quicker than you would with the craft pad because it dries pretty fast.
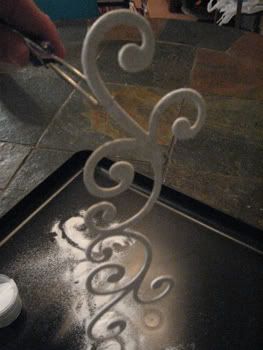
3. Heat your chipboard until you see it melt. If you over heat it looses a lot of the stickiness. When the image turns shiny and clear immediately stop.
*note* if you are using cardstock heat from the underneath. The biggest problem people have with Heat and Stick is over heating, which dries out the adhesive or "tackiness" thereby rendering it useless.
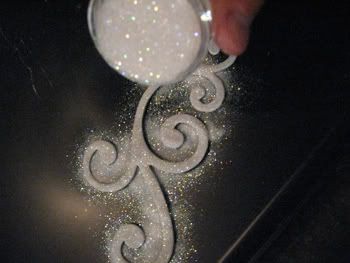
4. Spoon or do like I do and just dump straight from the container your glitter, flocking, colored sand or whatever else you choose over the warm sticky image or chipboard. Tap off excess but DON'T brush off all the flakes yet.
5. You MUST do this next step: Reheat image again. This will set adhesive. There is no precise anount of time and no visble change for the second heating. Basically you are now reheating to dry the adhesive so your glitter or sand or whatever you choose will stick. If using cardstock re heat from the underneath to reduce glitter blowing everywhere. Voice of experience talking here :)
IF you are using crdstock once the adhesive is set then you can brush off the remaining on the cardstock. You can rub your finger right across the image and have to worry about whatever you applied to the heat and stick coming off.
PLEASE NOTE CONFETTI FROM STAMPIN' UP! GLITTER STACKS DOES NOT LIKE HEAT AND STICK AND WILL CURL UP AND POP OFF. YOU DO NOT HAVE TO HEAT THE IMAGE A SECOND TIME WHEN USING IT.
Here's a tip:
Use colored pigment ink with colored glitter or colored ink with white glitter.
For that particular image up above I chose white pigment ink with dazzling diamonds glitter (both from stampin up) It's hard to see the shimmer in pictures but believe me it is phenomenal in person.
If anyone has any question please feel free to ask and leave you email in the comments and I will respond to you.
Happy glittering!


5 comments:
Very cool! I had a hard time trying to figure this out so the tutorial is just what I needed! Thanks Greta!
welcome...any questions don't hesitate to email me. it's really really easy..kinda sounds complicated but it's not...trust me if i do it it has to be easy..i don't have patience for all that tedious stuff :)
Thanks
I need to get some of those glitters ;)
Oh my poor wallet LOL
xoxo
Emine
I bought some of the stuff to use with flocking. I didn't quite know how to use it properly with glitters the tip about glitter blowing off would have surely happen to me :-) I seem to be "glitter prone" Thanks so much for the tips.
I just saw this tutorial first time. I like this one and i would like to know more about this. Thanks for sharing this informative post.
Post a Comment