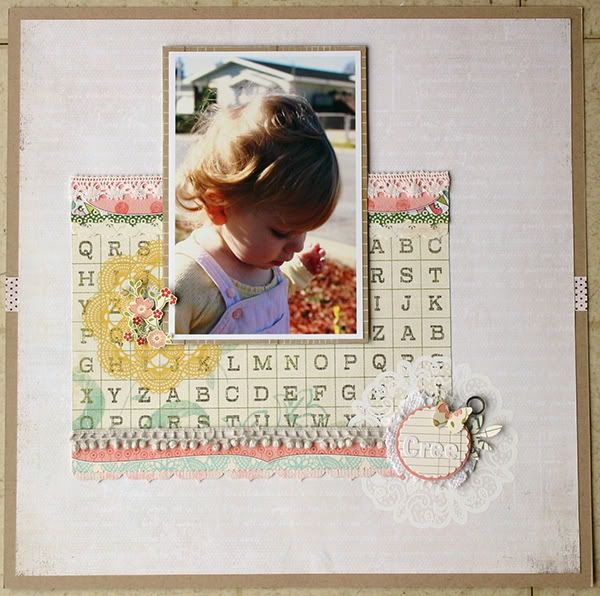
.

Monday, November 29, 2010

Fringe Trim on a Snowy Banner!


I have a tutorial to share with you today with a fun technique I used on this "Snow" banner I created using the "Snow Day" collection from Crate Paper. You can find the "Snow Day" collection in the Noel Mignon store. I love the bold, fun colors in this collection that are sure to brighten up any dreary winter day. I hand drew my mitten template and cut the snowflakes out using the Christmas/Noel cartridge with my Cricut. I wanted something to hang across my china hutch and I love that the banner isn't necessarily for Christmas but something I could keep out through January and February and March and April (sometimes winter in Iowa lasts that long, you know?!) (Be sure to click on the images to see them larger.)


Here's another look at my banner and all the fun bits and pieces of ribbon, tulle and paper. 


To keep things consistent, all of the mittens were cut using the "Mittens" patterned paper (aptly named, huh?) I chose to bring out the teal, yellow, pink and green of the patterned paper and used somewhat neutral patterns from the Crate Paper collection to create accordion medallions edged with silver Stickles. The kraft centers were punched using a scalloped circle punch. The chipboard letters are Melissa Frances and I also used mica flakes to add to the snowy look. 


I used the "Shadow" feature on the snowflakes and backed them with kraft cardstock. The Cricut cartridge was Christmas/Noel.


The ribbons are by various manufacturers including American Crafts, May Arts and Basic Grey. 


I strung the banner on a wire and curled it to help hold the pieces of it in place. 


And here's my tutorial on how to create the fringe trim I made on the mittens. The trim color coordinates on each individual mitten with the accordion medallions. As I was putting the banner together, I tried to come up with ways to give it extra dimension and texture. That's how this fringe trim was born! 

First I cut five 1" pieces of Melissa Frances white crepe paper. 


Next, I stacked the pieces on top of each other and then machine stitched down the center. 


I used a fine tip scissors to cut small fringe on either side of the machine stitching. 


The piece should look like this after cutting the fringe. 


Next, I used my fingers to ruffle up the trim and it looked like this when I was finished.


I used Tattered Angels Glimmer Mist on this particular piece of fringe. I sprayed one coat and let it dry with a heat gun to speed the drying process. Then I repeated this step. 


Once dry, I ruffled the fringe a bit again. 


Here's a look at the fringe on one of the mittens.


And here's the completed banner again...I love the pops of color! 


I can't wait to try this technique out on a layout or card!

Until next time,
Jill

Sunday, October 24, 2010

Halloween treat bags

I have a really easy way to make some fun Halloween treat bags. I believe I saw the original idea for this on Jennifer McGuire's blog. I like making fun little treat bags for holidays and the idea I'm going to share with you is really easy. So here's the treat bag:

First I'll start with the embellishments I put on the front of the bag. I took the cute little Halloween stamps that came with the Sleepy Hollow kit, Versamark & some embossing powder. The frame I stamped on black cardstock with Versamark, sprinkled some iridescent embossing powder, then heat set with my embossing gun.

For the skull I did the same thing but used purple embossing powder. Then I cut both images out.

For the bag, take a strip of paper that is 4" x 12". I chose some Pink Paislee paper from the Sleepy Hollow kit. You can use regular cardstock but patterned paper is fun because it already has a design on it.

Score your paper on the long end at 4", 6" and 10". If you don't have a scoring tool you can use your paper trimmer & a bone folder and score right in the groove of your paper trimmer. But don't press too hard because you'll go right through the paper. After you score it your bag will look like this:
You can go ahead and fold the small flap over at the top and adhere. Then, holding all of the top layers together, take a small circle punch and punch 1/2 the circle at the top. This will be the opening for your candy bag to stick out.
Decorate the front of your treat bag, then get a cellophane bag and fill with candy. Be sure to eat all candy that accidentally falls out ;) Most craft stores have cellophane bags but regular 'ol sandwich bags will work, too. Twist the top and put through the inside center of the treat bag & adhere ribbon.  And there you go...fun little treat bag!

Now I know some people don't do Halloween stuff, so I also made a little treat bag using some goodies from the Sweet Sue & Seaside Cottage kits.
By the way, these are fun little treat bags to give to teachers!

Monday, October 11, 2010

From the Ground Up


Hi everyone! Today I am going to go through the process of building a layout with the Sleepy Hollow kit (sorry sold out). First you will need your kraft cardstock and spray a bit of mist on the top and bottom of the cardstock. I used Licorice from Maya Road.


Next cut out the middle portion of the Pink Paislee paper. Also cut out a big enough section of The Girls' Paperie paper to cover the numbers on the Jenni Bowlin card. You could also leave them uncovered but they were too distracting for what I had in mind.


Choose two cards from the Making Memories paper and cut them out. Place them behind the Boo card. Also punch out the orange die cut frame and place it over the spider to create a "picture frame" so to speak.


Choose 5 photos and adhere them across the center of your page.

Layer the Pink Paislee text border and the striped die cut strip under your row of photos.


Lastly, add a few finishing touches to complete your layout. To complete your picture frame, attach one of the Girls' Paperie metal charms to the die cut frame. Then use a piece of string to tie a bow and adhere it to the top of the metal charm. Here is what my finished layout looks like.


Let me know if you have any questions about how I created this layout.

Happy creating!
Diana

Sunday, September 26, 2010

Dimensional butterflies!


Hey there! I have a fun technique to share with you today! If you know me well.....you will know that I have a "thing" for butterflies. I think almost every LO has at least one......somewhere. It is a slight obsession I have. Don't know what to put in that corner? Plop a butterfly there! LOL! This LO of my sweet 90 year old Gram uses several of these cool, embossed butterflies and the Sweet Sue kit. (only 4 left!) One is a larger version and two are somewhat tiny....so you have to kind of look for 'em!
Here is a close up! In real life they are quite shiny and sparkly!
Want to make some of your own? OF course you do! : ) I used this old set by PC where it comes with the die and embossing folders. But you don't need these to do what I did. All you need is to die cut your butterfly from ANY System and then find a cool embossing folder you want to use!
You will also need clear embossing powder and Versamark.
Be sure you have already die cut your butterflies and set them aside. Open you embossing folder and Versamark one side of it. Slip your diecut butterfly inside and crank it through your BigShot or Cuttlebug machine......whatever you have!
Open up the folder and take the butterfly out. It will have the Versamark on only the recessed areas! This will serve as a sort of "resist" when we Glimmer Mist it in a bit! You can also try it the other way where the raised parts grab the Versamark.
Dump your clear embossing powder on top and shake excess off. Heat it up.
Now the butterfly is shiny on the recessed parts of the embossing.
Ooopps! Forgot to insert the picture of my Glimmer Mist!!! OK GRAB YOUR GLIMMER MIST!!!!! (or something comparable to it!) Spray away until you reach your desired colors!
Dab excess off with a Kleenex. (Yes, we are very high tech around here!)
Once your butterfly has dried, you can shabby it up a bit by inking the edges a bit in brown.
Dress up your butterflies with buttons, gemstones, pretty stick pins and such!
Here are a couple of little wall plaques I created. You can see how different embossing folders give it a different look!
I would love to try this technique with letters for a title, or other die cut shapes!
I hope I've inspired you to try something new today! Have a fabulous week!

Sunday, September 12, 2010

Banner Crazy!

Heya! So today's post is a quick tutorial on the wonder of half-banners. Or at least that's what I call them. I did them on this layout and had so many requests to show a tutorial on how to make them, so here we are! I had originally planned to post this last week (on Labor Day) but this dang satellite internet is just so not working with me! I'm getting very familiar with my local Starbucks as a result. And all hyped up on caffeine, too!

Half-Banner Tutorial from Brittny Lejeune on Vimeo.

Seriously...I love that my tank is all lopsided. And you can see my bra. Classy, very classy.

Well, I hope I didn't scare you too much! I'll show you the banner I made with this piece in a bit. Assuming of course I ever finish it!

Sunday, August 15, 2010

Using your punches effectively!


Hi everyone!!

My first Tips and Techniques blog post! Yay!
So super duper nervous! Yay!

LOL! So I am not a real huge techniques person-at least I don't think so-but I wanted to try and come up with something that was useful and interesting to read for you all! Looking at my supplies and my LOs, I realized that the only real tools that I use are my paper punches and decorative scissors! I still hand cut or exacto my lines and don't have a die cutting machine or anything. I just couldn't justify the cost of such things as a die cutting machine or even a paper trimmer, and honestly it took me a long time to get into the punch trend because those things are a bit pricey too! But after a couple punches I realized that these would be well worth the cost as I do get a lot of use out of them! :D I was happy about that. So my punch stash has grown quite a bit and I thought I would share with you some of the ways that I have used them to try and get the most out of them! :D My goal is to try and give you lots of ideas on different ways to use your punches and deco scissors to try and get the most for your money! Hope you like it!...Here we go!
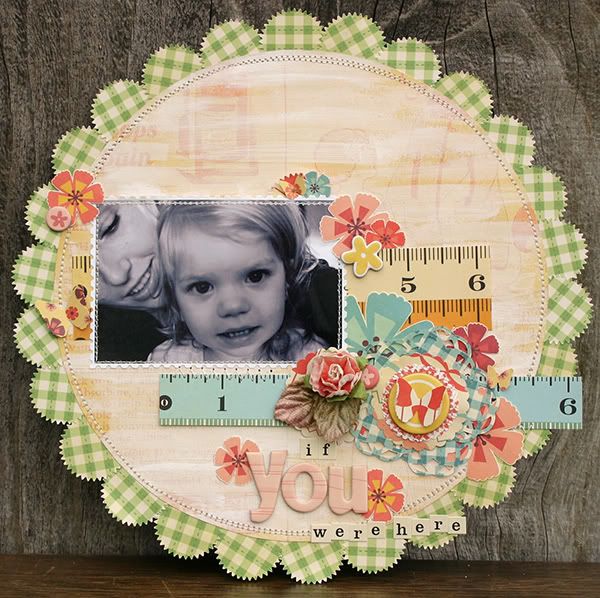
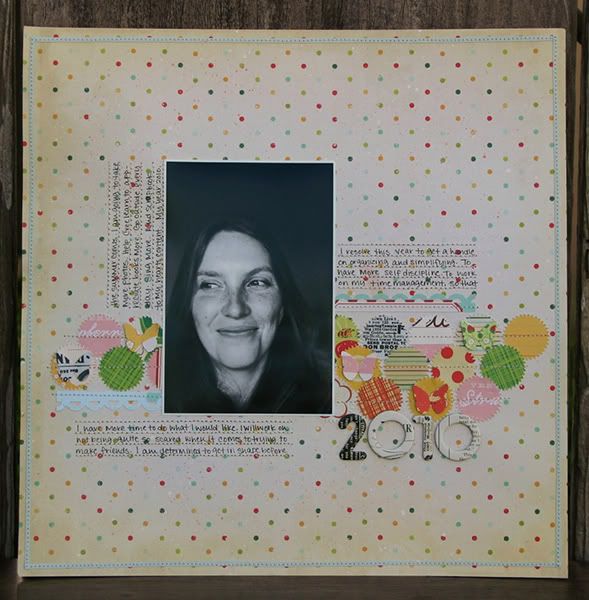
This first LO uses my Martha Stewart Starburst punch like there is no tomorrow! I wanted a scallop border for my circle LO but I didn't want the normal scallops. I saw this idea from the awesome Kimmi Achord, and totally fell in love with it! And it was really simple, which is a plus for me! :D Sewed them into place and totally love how it looks. The second punch I used on this LO is my all time fall back, the Martha Stewart 3-in-1 Butterfly! These little butterflies are tiny, soft, sweet and can add just the right amount of dimension and color to any LO! And next, the Martha Stewart Medallion double punch is one of my newer punches, and I used it here to make a sort of blue flower around my main embellishment. I think it turned out really sweet! And last, the Marvy 1 1/2 inch Scallop lever punch I use on lots of LOs as a good base to further embellish off of, like I did here in this LO. And I also used a pair of deco scissors here that has really grown on me, my Kraft Edgers Postal decorative scissors. (Normally I would never condone buying something so super expensive, but it was a gift-and have only just realized in looking it up exactly how expensive a gift it really was!!! Totally need to call my Grandpa and Thank him profusely again!) Anyway I used these to trim around my photo-and really like the effect!


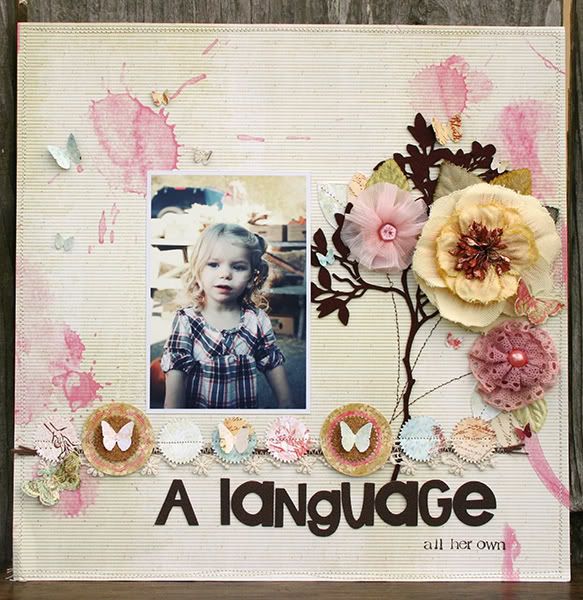
Next up, I used my Martha Stewart Starburst punch on overtime!!! I wanted to just use hints of all the patterned papers from this line and this was the best and most effective way I could come up with! :D The next that I used here was my Fiskars Apron Lace punch. I punched the top of my journaling card and a little strip of one of the papers to just give hints of the blue colors they had on them. And of course the LO wouldn't be complete without using the Martha Stewart 3-in-1 Butterfly punch again! :D Love that one to pieces!


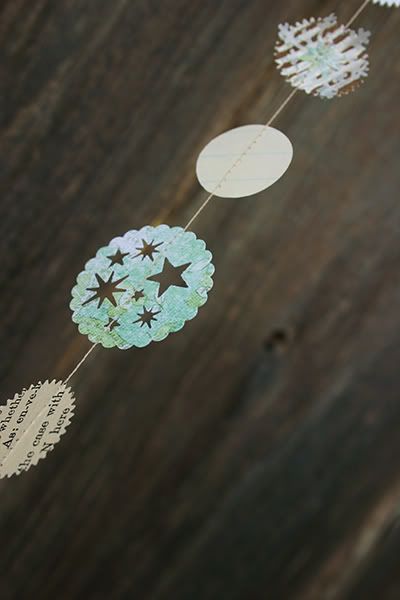
This next project is a hugely hot trend as of late and I jumped on the band-wagon as soon as I saw the first one because I thought it was sooooooo stinking awesome! And I have made several of these garlands since! :D Here I used a butt-load of scraps and it felt great!!! I used everything from patterned paper to glassine envelopes to corrugated cardboard! The punches I used were all of these:

For more pictures of the garland (which still aren't very good-but all I could get :P) go here to my blog. :D

This LO here, which is very near and dear to my heart, I did kind of the same thing as the LO above with my Marth Stewart Starburst punch. I used the punches to not only add dimension and texture, but as color accents on the page. :D And of course they would not be complete without some butterflies on them, using the Martha Stewart 3-in-1 Butterfly punch!


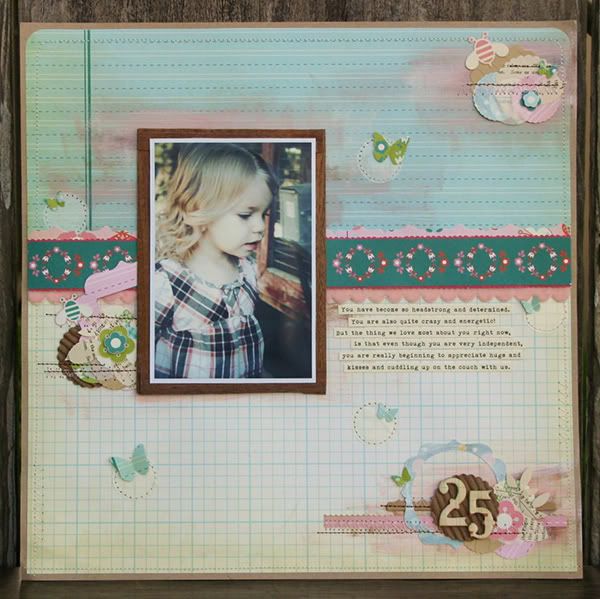
This LO also does something similar in that all my accents are pieces of paper in different colors and shapes. :D I punched lots of different papers that followed the same color scheme that I needed and layered them all on top of each other in random order! Along with the circle punches I used here (Marvy 1 1/2 in Scallop circle lever punch, Martha Stewart 1 inch Scallop Circle punch, and Martha Stewart 1 in Circle punch) I also included some punches from a couple leaf punches I have, which makes the circles seem like flower clusters! Leaf punches used were: Martha Stewart Rose Leaf punch and Martha Stewart Frond punch. I really love how this LO turned out and how the layered papers give it a soft texture. The other thing I used on this LO were my Provo Craft Mini Scallop deco scissors (which I can not for the life of me find a picture of online! Grr!)I used it along the strip that runs horizontal on the LO. I actually backed the strip with the darker magenta color and then cut the paper off with the deco scissors leaving just a hint of the color for contrast! :D I like doing little accents like that.

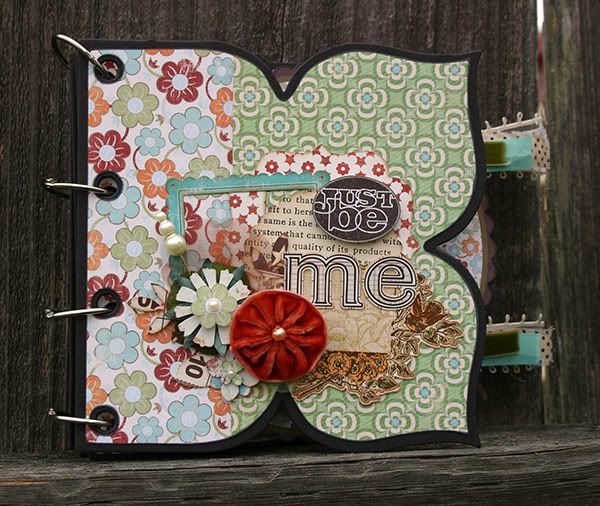
This next project has my Martha Stewart Hydrangea punch and Martha Stewart 3-in-1 Hydrangea punch to good use making my own embellishment flowers! These two punches layer so amazingly together! All you need are some small pop dots to make them dimensional and you are good to go! :D I used two other flower punches on this project as well-the Martha Stewart Cornflower punch (as seen directly below) and the Martha Stewart Cosmos punch (seen in the next picture). And to make these flowers complete I added punches from some of my Jenni Bowlin Bingo cards made with the Martha Stewart Rose Leaf punch and the Martha Stewart Frond punch! :D This album was probably the most fun of anything I have done with punches!

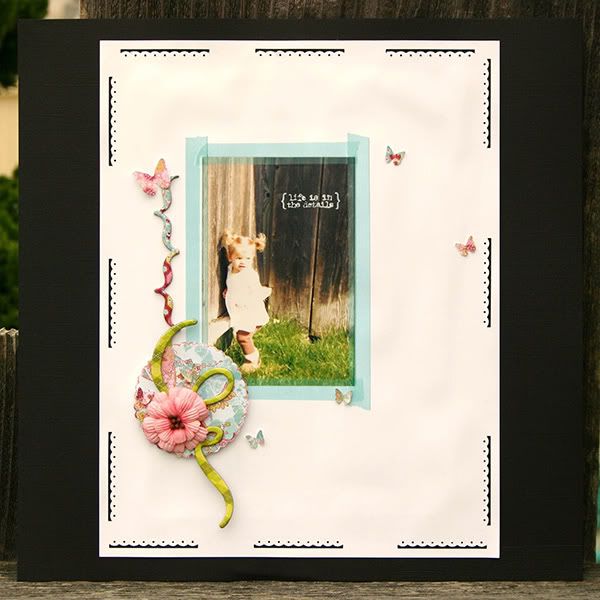
Next to last is this little LO that I made a while ago, and it is really a very simple LO but I LOVE it! :D One of my all time favs. On this Lo I used my Marvy 1 1/2 inch Scallop lever punch and layered two punched papers of different colors on top of each other, with the darker paper on the back so that only a teeny bit showed up behind the blue paper. And that was my main accent. Using a small amount of paper in an effective way is sometimes all you need to make a LO! :D The other two punches used here are, of course, my Martha Stewart 3-in-1 Butterfly punch and then my EK Success Tiny Dotted Scallop edger punch. The EK Success punch I used to subtley merge the white cardstock with the black cardstock, so that hopefully it wasn't such a huge contrast. And it turned out to be a really fun accent to do! Another way to creatively use your punches to add some fun and texture to your LOs! :D

And last, but not least!, is the LO I made for the most recent Noel Mignon challenge! Here I wanted to use several different colors, but still have this be a very white space and soft LO. I tried to do that by just using little strips of the colors and patterns I wanted. I used my Provo Craft Mini Scallop scissors, Fiskars Uppercrest Border punch, and Fiskars Threading Water punch on the papers. And, of course, as you can see, I used the Martha Stewart 3-in-1 Butterfly punch (tired of that one yet? LOL!), my Marvy 1 1/2 inch Scallop lever punch, and Martha Stewart Frond punch to create the accent at the lower part of the LO.

:D So now do you see how it is almost impossible for me to do a LO without my punches??! I love them so much and they are so versatile that I can't help myself! I really have begun to depend upon my punches and scissors, and they really help to make the most of the rest of my supplies-especially my paper scraps!

I really hope that I have inspired you and given you some ideas on ways to use your punches and scissors, instead of completely overwhelming you with an incredibly picture heavy post. :D Please let me know if there are any specific things you would like me to do in the future for my T&T posts, because as I said before I am soooo not a techniquey person (or at least I don't think so), but really want to show you what you want to see! So let me know! :D Thanks!

Two more things before I go-

The Fun in the Sun crop is still going on! All the challenges are up on the boards here, and all of them have the same due date of the 16th! Which still gives you some time if you hop on over there and get started! Good Luck! :D

And the last thing, Sweet Sue is up for preorder!! Woot Woot! Be sure to go pick yours up today as these are going to go real fast!! I can not wait to get my hands on mine!!! This is going to be my fav kit yet as it is just gorgeous and I love the colors! :D

Ok that's all folks! Take care! Have a good day!

~Amy