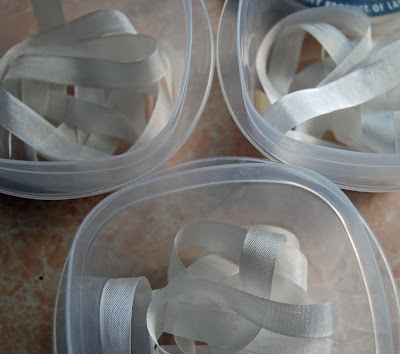
 Scrunchy ribbon is all the rage these days! I love the look of it on cards and scrapbook pages! It has that imperfect vintage feel to it! So here's the scoop on what you'll need...............Glimmer Mist, Seam Binding, used wet coffee grounds, and bowls. If you interested in purchasing seam binding, E-bay is a great place to buy it!
  Step One: Cut seam binding to desired length and place in bowls.
 Step Two: Spray and scrunch seam binding with Glimmer Mist. (The scrunching is necessary so that parts of the seam binding will be dark, other areas will be light!)
 Step Three: Dump used WET coffee grounds over the wet seam binding. Scrunch again, let it sit and dry.
Step Four: Take the binding out of the bowls and put on a plate because it will dry faster that way. (Unless you have unlimited time.....then leave 'em in the bowls overnight!)
 Step Five: After it is dry, shake and remove coffee grounds. This will be your beautiful end result! I love how there is variation in the colors and an aged look from the coffee grounds!
 Here is an example of a candy package I created using my scrunched seam binding and Noel's Lemonade Stand kit. And yes.......I did pick out the correct colored M & M's so as not to clash with the papers! (Sick, I know! LOL!)


7 comments:
A superb tutorial! Thanks so much!
Oh love it love it love it!!! Thanks, girlie!
LOL!! Then we must be in the same SICK boat...I would do the same thing, Michele! You are not alone! LOL!!
Great tut! Will have to try this since I have coffee grounds to recycle - GO GREEN, right?! LOL!
Thanks! xo
What a cool tutorial! Love it!
Super fun tutorial! I love ribbon and to be able to color it like that is fabulous! TFS!
Thanks for this Michelle, you just saved me a fortune buying it on Etsy :D! I tried doing this myself with the glimmer mist and it was pretty but it's the coffee grounds step that must make the difference for the vintage effect. it's beautiful.
Thanks for this tutorial!
Post a Comment